Dear friends, may the sun shine upon you, bringing warmth and happiness to brighten your days 🙂
In today’s post, we’ll continue from where we left off last time – adding authentication to your Sitecore site with Auth0 and Next.js. This time, I want to highlight the power and ease of incorporating ‘business logic’ directly within Auth0 using its Actions (Flows) feature. Auth0’s flexibility allows us to streamline authentication processes and implement complex logic without complicating our application’s codebase. Let’s dive into how Actions can enhance our Sitecore and Next.js integration. So what are Actions?
Actions are secure, tenant-specific, versioned functions written in Node.js that execute at certain points within the Auth0 platform. Actions are used to customize and extend Auth0’s capabilities with custom logic.
https://auth0.com/docs/customize/actions/actions-overview
*Auth0 Actions uses modern JavaScript’s promise-based programming model, a basis for asynchronous functions in Actions.
The processes that can be extended in this way are called flows. Each flow is made up of one or more triggers and represents the logical pipeline through which information moves during a single point in the Auth0 journey. Multiple Actions can be added to a trigger, with each Action executing in the order in which it was placed. Some triggers are executed synchronously, blocking the flow in which they are involved, and some are executed asynchronously.
Wonderful 🙂
Imagine a login process where users need specific roles to get access. Usually, you’d set this up in your web app, maybe on the server-side for a Next.js app. But with Auth0, you can handle this directly. You can create a custom login flow in Auth0 to check user roles when they log in, instead of doing it in your app. This makes the setup easier and boosts security and scalability using Auth0’s strong infrastructure.
Ready to embark on this exciting journey? Head over to the Actions section in the Auth0 menu and choose Flows. Get ready to be amazed by the wonderful and dynamic flows that await you!
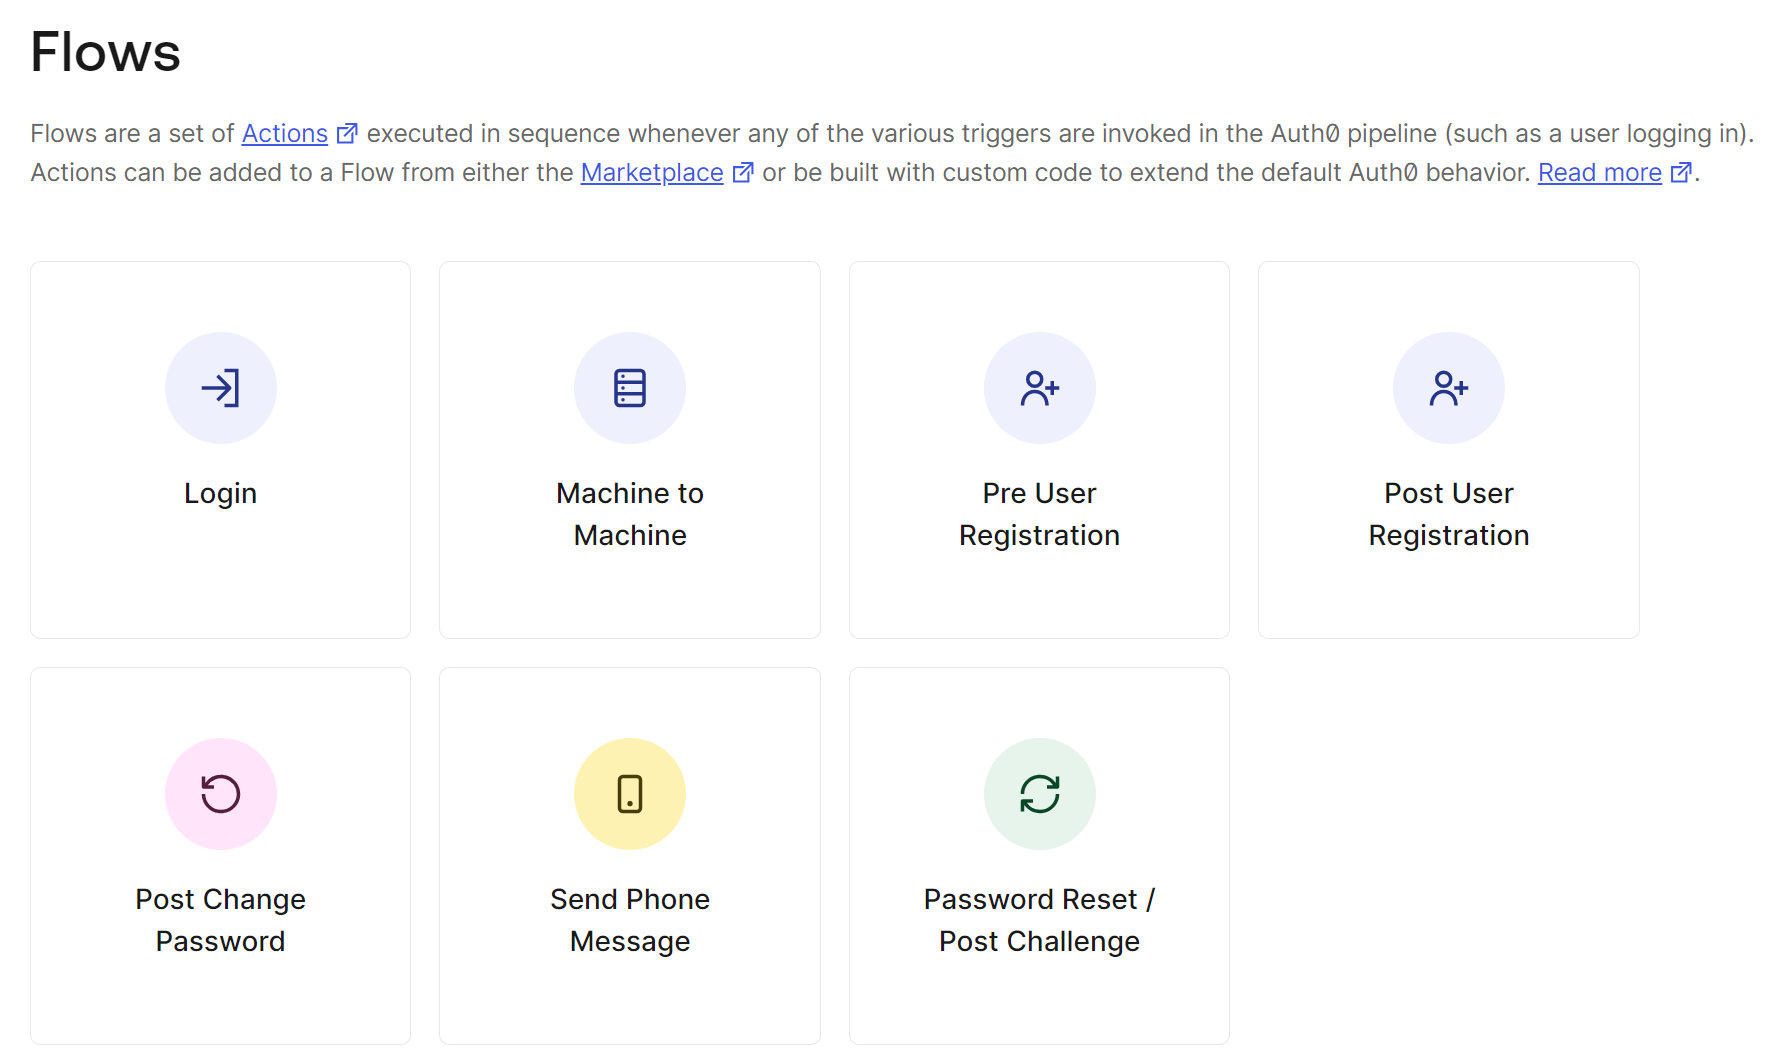
For our purposes, we’ll focus on the “Login” flow. We aim to construct a custom Action to validate user roles during the login process. Let’s start with a template for efficiency.
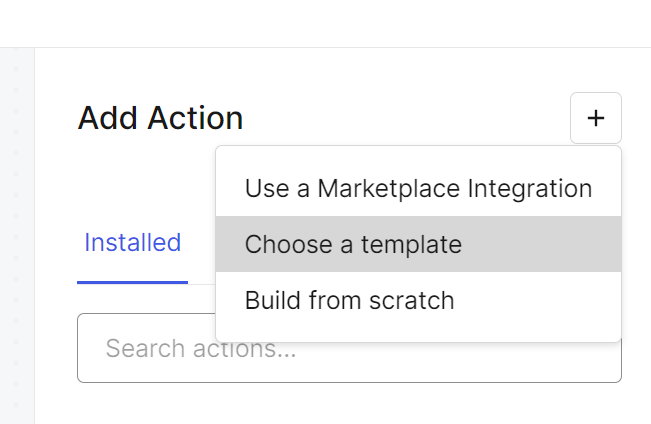
Here we will select the “Login” flow. Next part is to build a custom Action. We will go for the template approach:
And just look at all the wonderful Actions 🙂
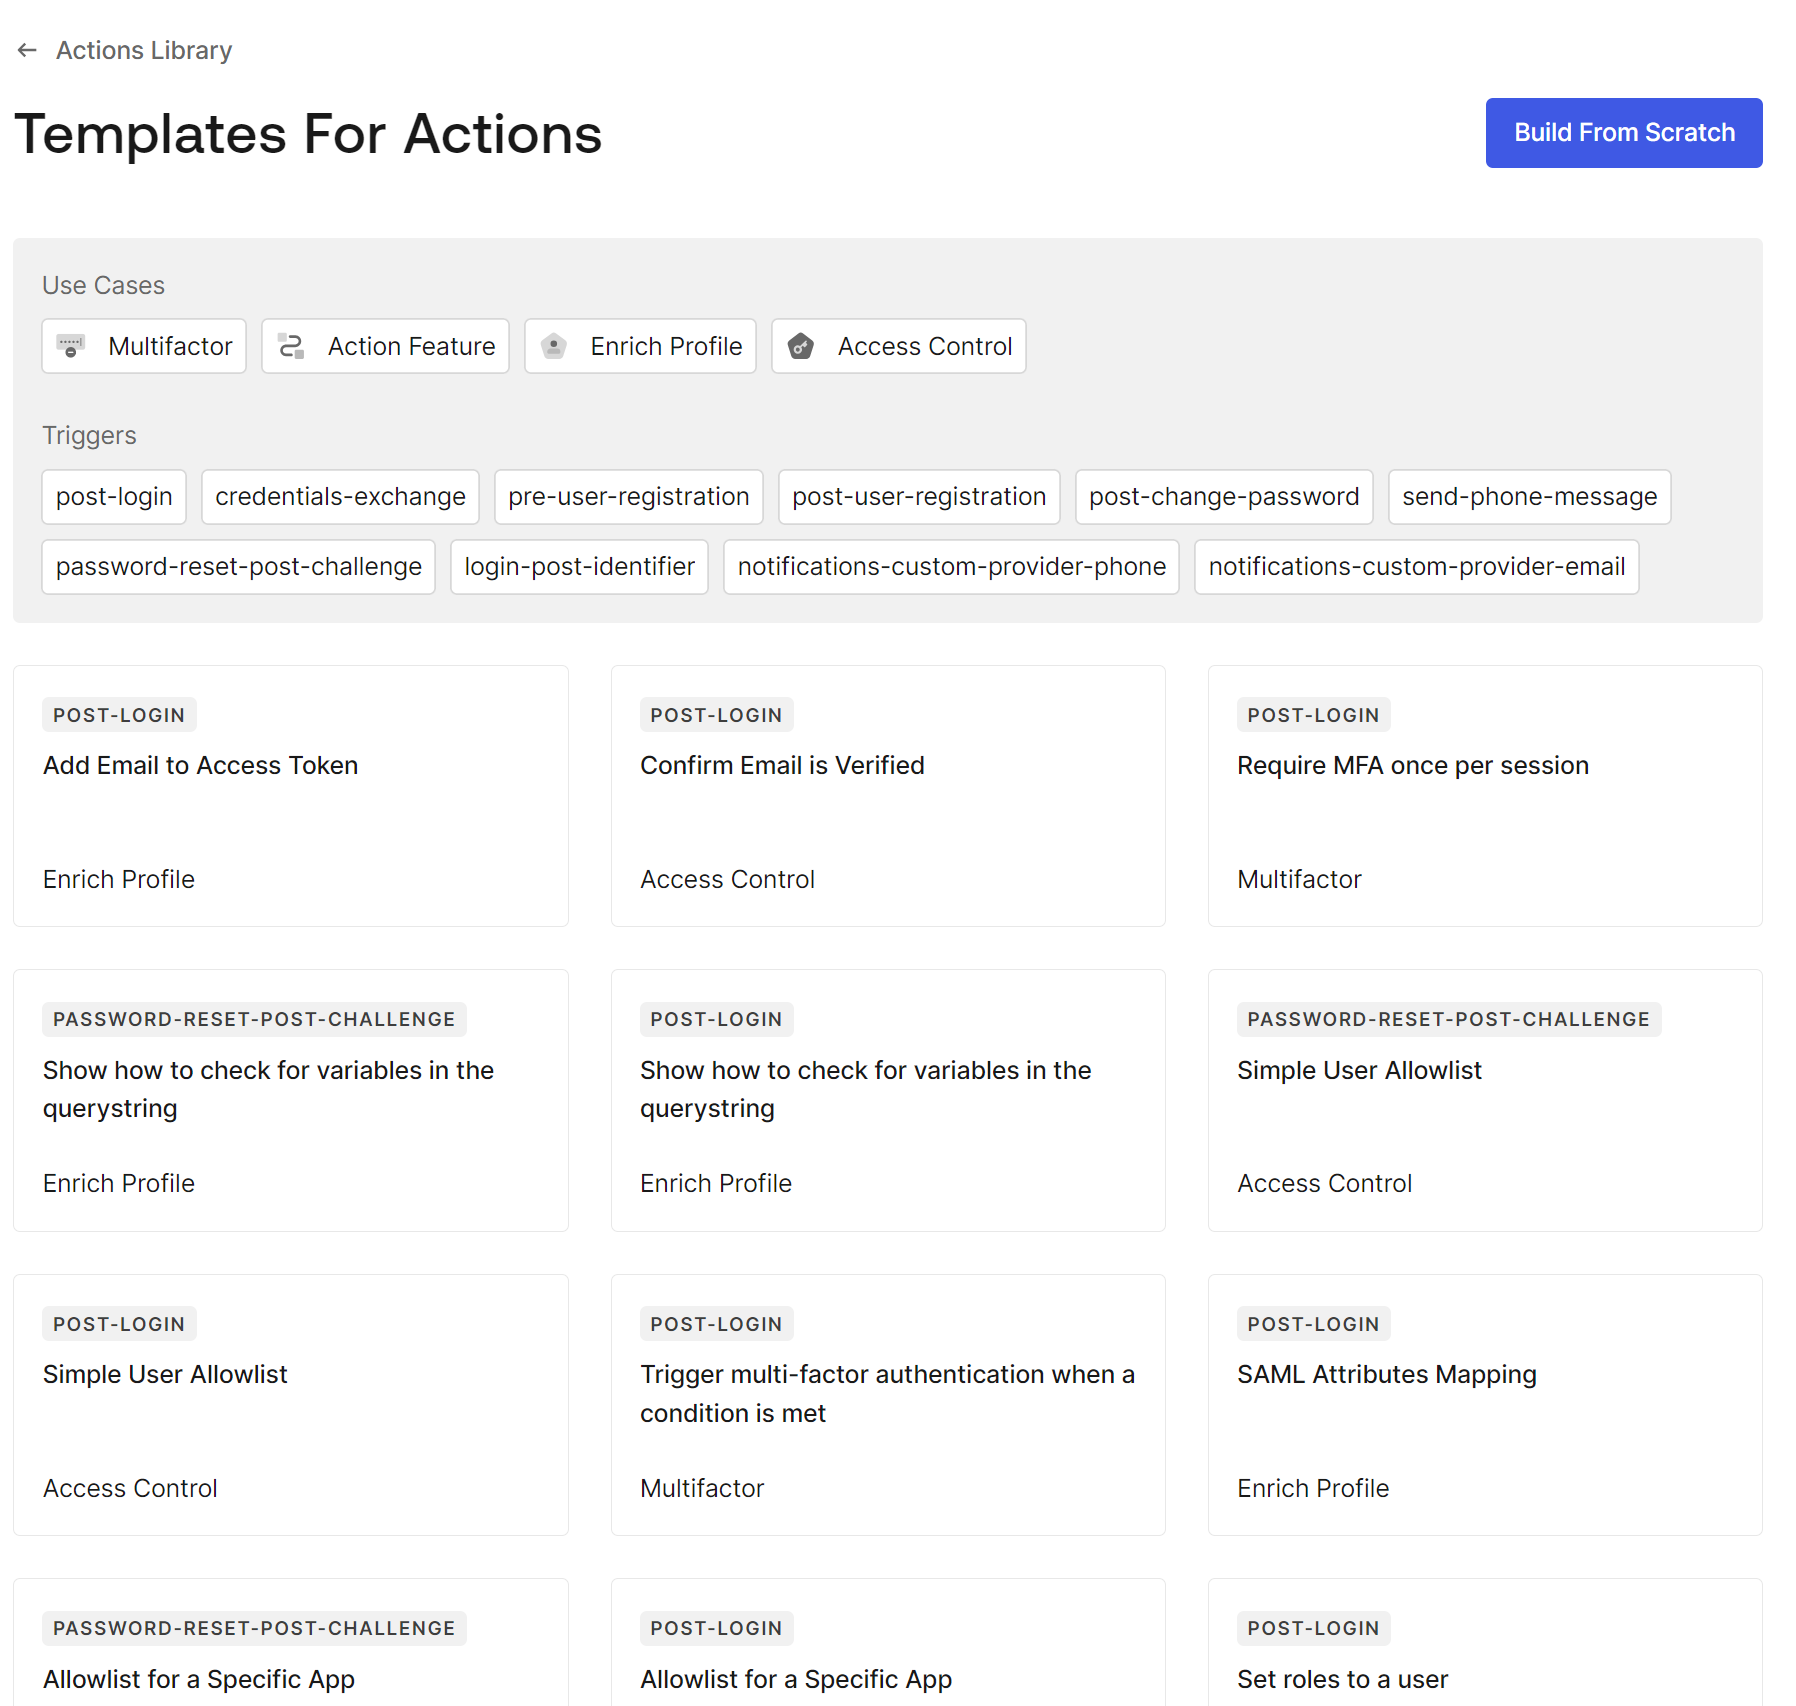
What we need is a ‘POST-LOGIN’ Action, where we’ll verify whether the user attempting to log in possesses a role considered ‘valid’ for access. A suitable starting point for this verification process is the “Simple User Allowlist” Action.
Let’s have a look at it 🙂
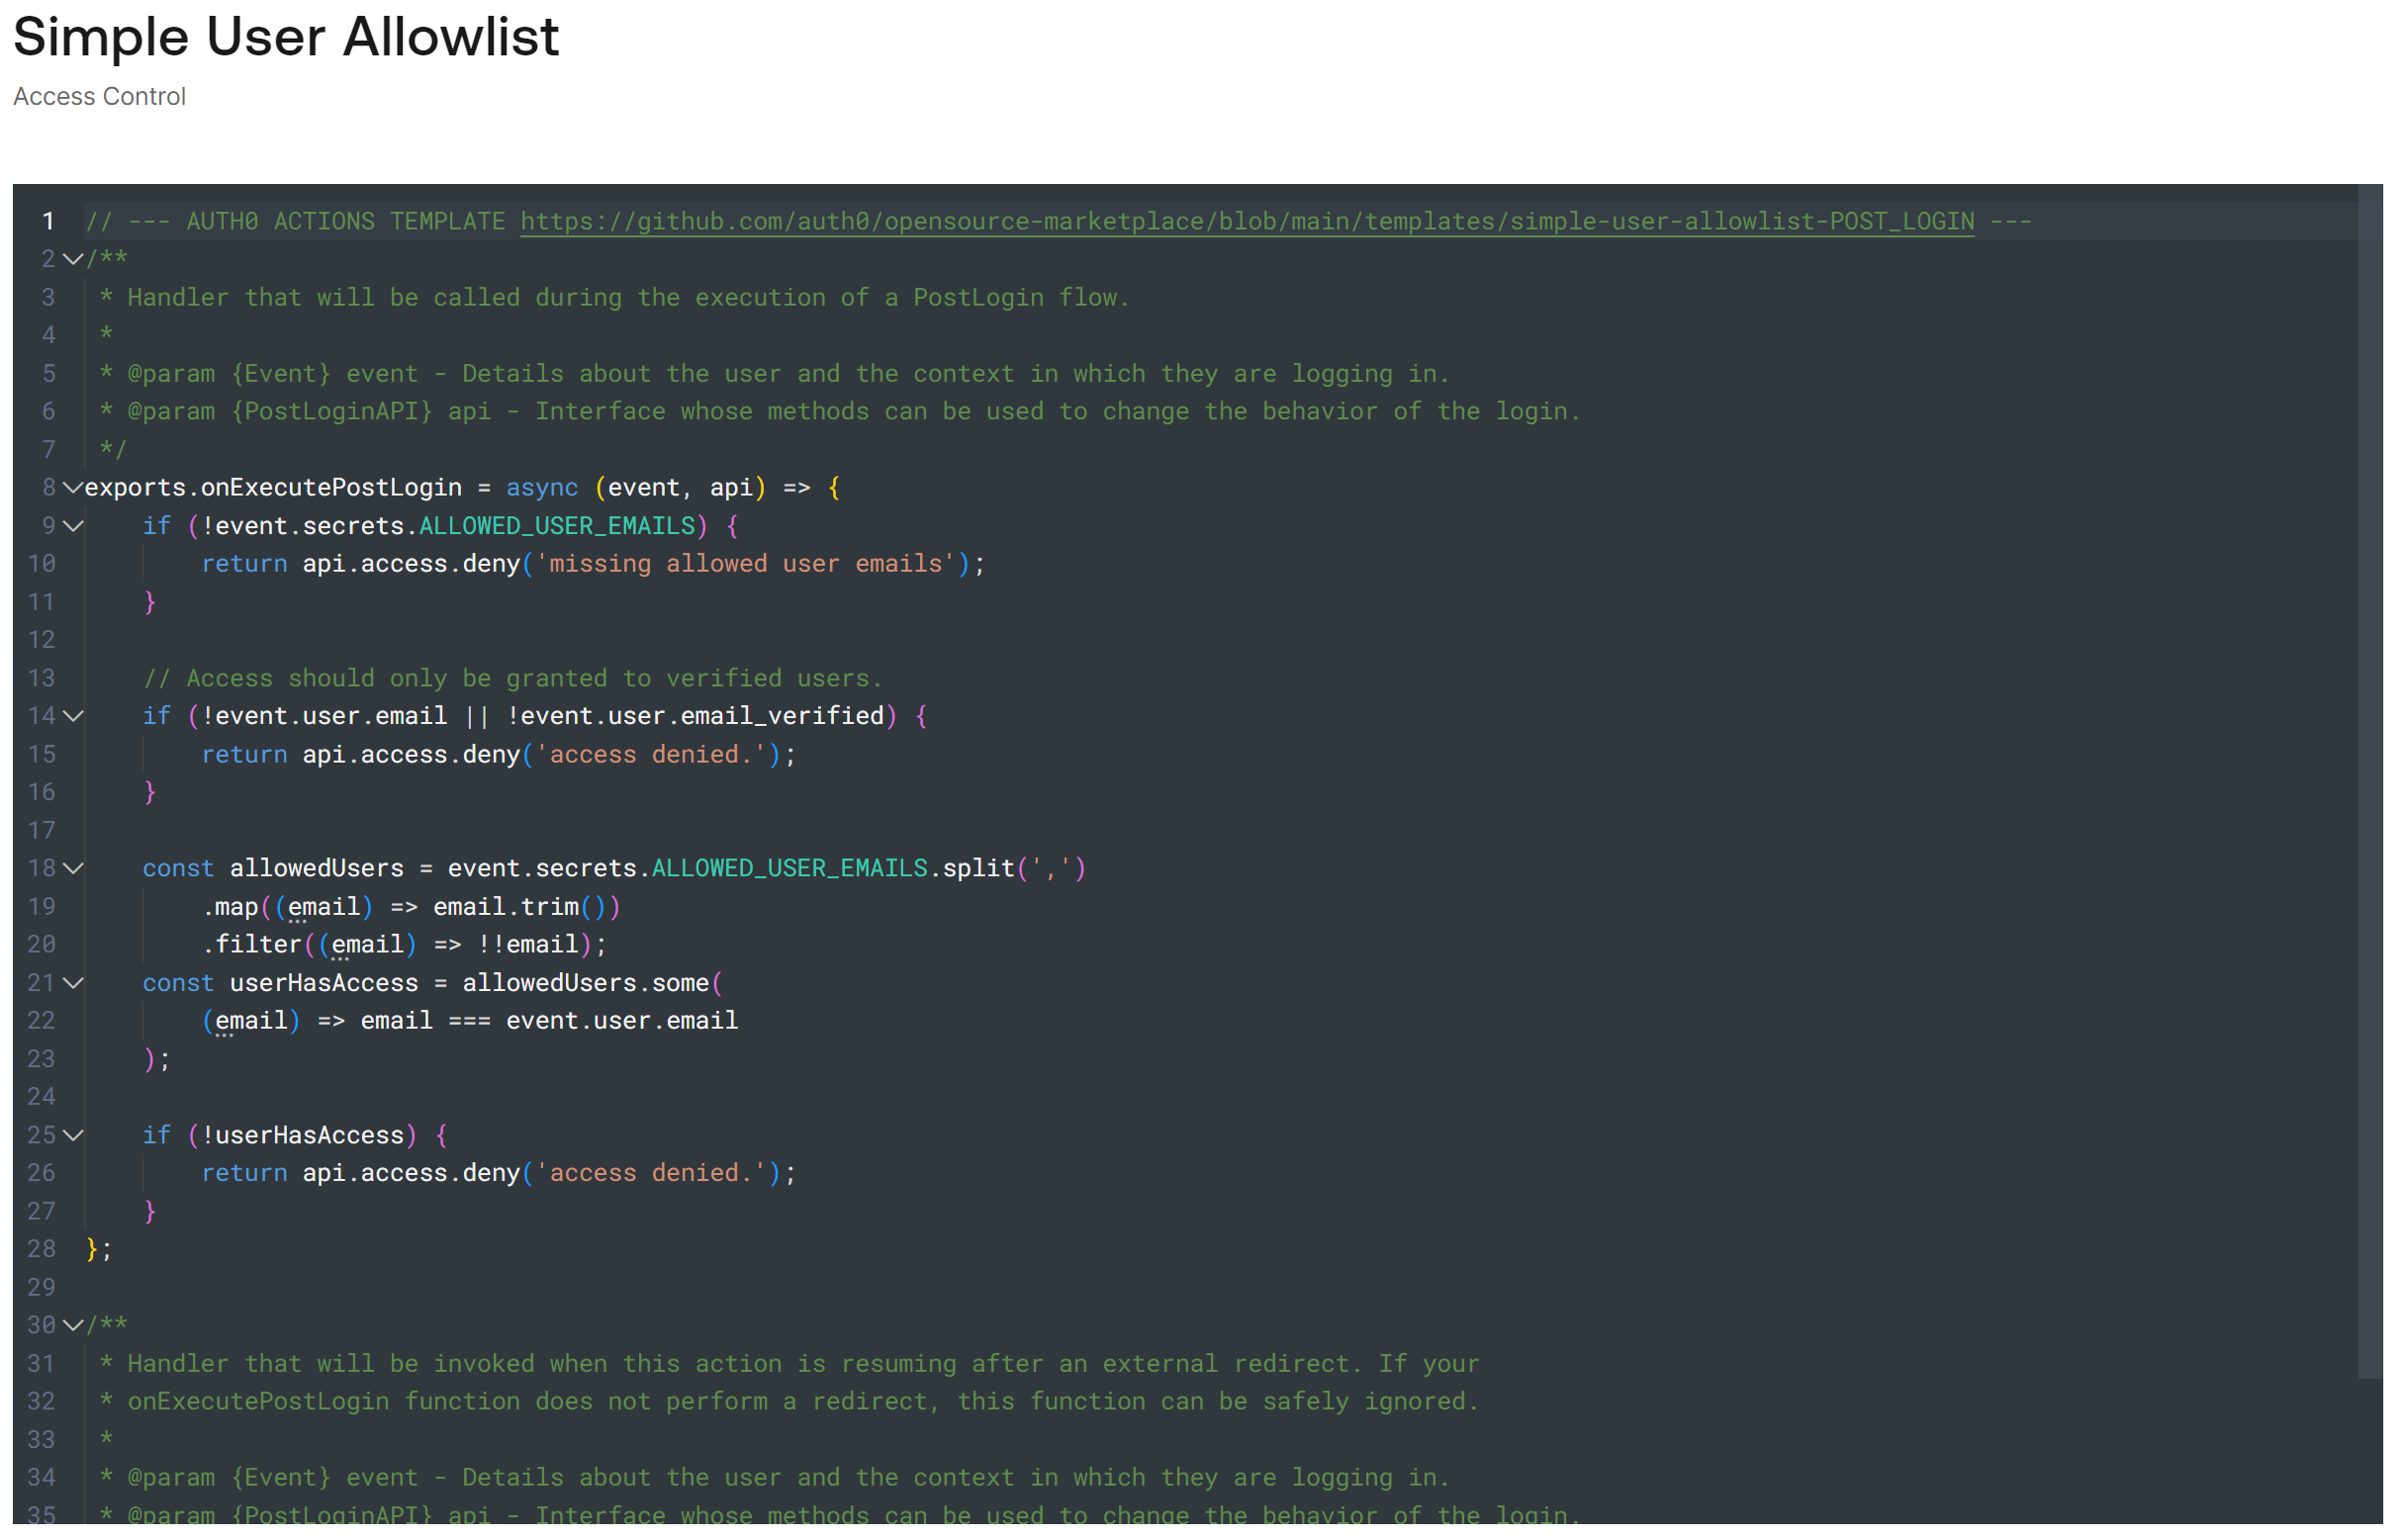
After selecting our template, it’s time to assign a name to our Action – “Required Role Validator”. We’ll then customize the template with our specific logic:
// --- AUTH0 ACTIONS TEMPLATE https://github.com/auth0/opensource-marketplace/blob/main/templates/simple-user-allowlist-POST_LOGIN ---
/**
 * Handler that will be called during the execution of a PostLogin flow.
 *
 * @param {Event} event - Details about the user and the context in which they are logging in.
 * @param {PostLoginAPI} api - Interface whose methods can be used to change the behavior of the login.
 */
exports.onExecutePostLogin = async (event, api) => {

  const userRoles = event?.authorization?.roles || [];

  // Check if the user has the required role
  const hasRequiredRole = userRoles.includes(event.secrets.REQUIRED_ROLE);

  if (!hasRequiredRole) {
    api.access.deny(`Access denied. User needs ${event.secrets.REQUIRED_ROLE} role.`);
  }


};

/**
 * Handler that will be invoked when this action is resuming after an external redirect. If your
 * onExecutePostLogin function does not perform a redirect, this function can be safely ignored.
 *
 * @param {Event} event - Details about the user and the context in which they are logging in.
 * @param {PostLoginAPI} api - Interface whose methods can be used to change the behavior of the login.
 */
// exports.onContinuePostLogin = async (event, api) => {
// };
The code is quite straight forward.
First we are fetching the user’s roles from the event object. These roles are part of the user’s profile and permissions settings within Auth0.
Then we checks whether the user has a specific role required for access. This required role is stored in Auth0 secrets (a secure storage for sensitive data in Auth0) under the key REQUIRED_ROLE.

And lastly, If the user has the required role, their login process continues as usual.
If the user does not have the required role, the script invokes api.access.deny() method. This action denies access to the user, providing a message that clearly states the requirement of a specific role for access.
The cool thing is that we can also test the Action 🙂

Isn’t it fantastic? It’s incredibly powerful yet simple to implement. Let’s go ahead and deploy our Action.
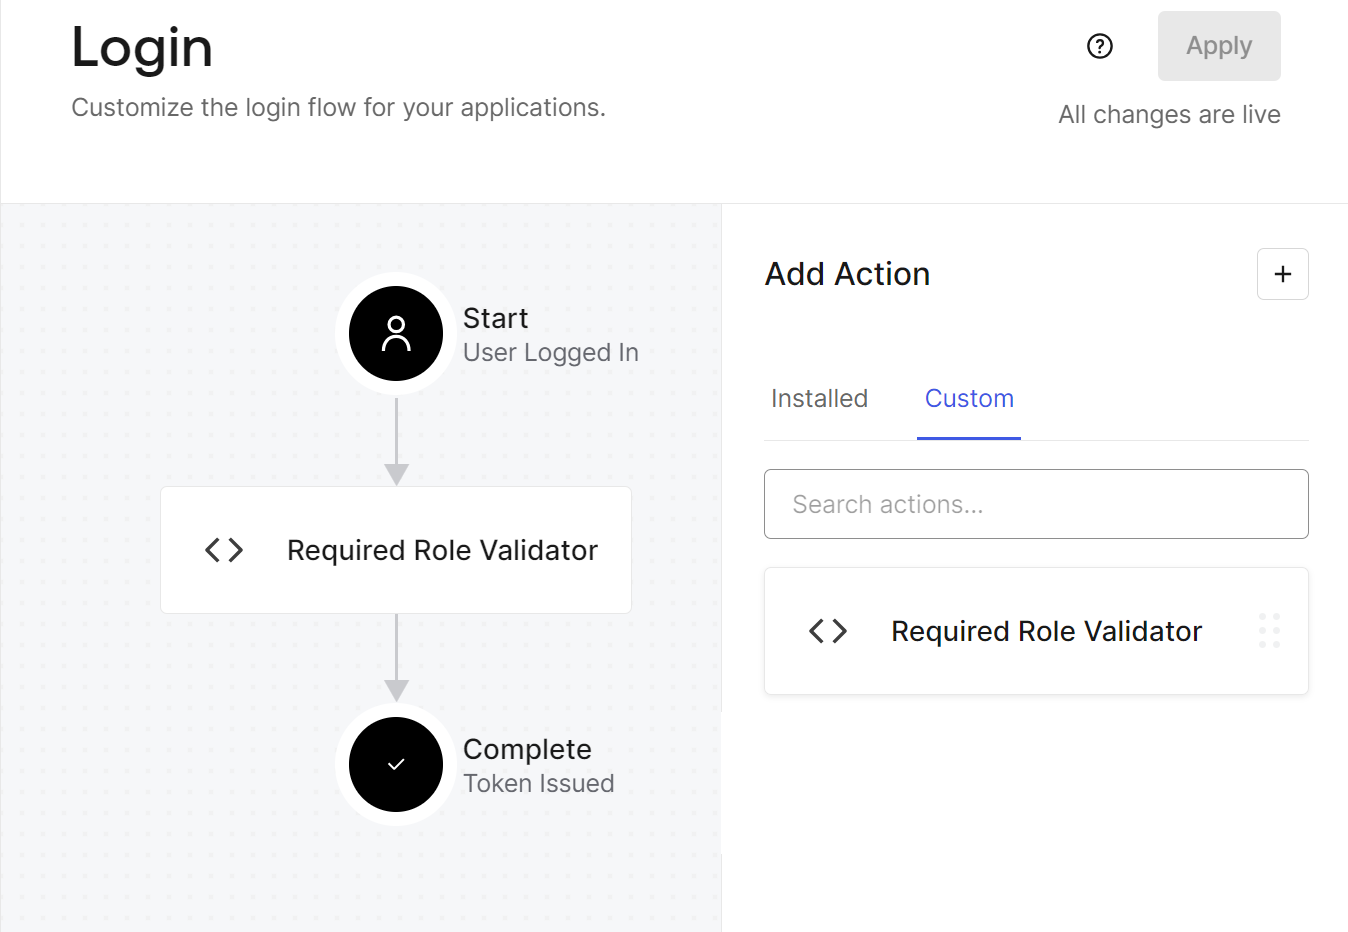
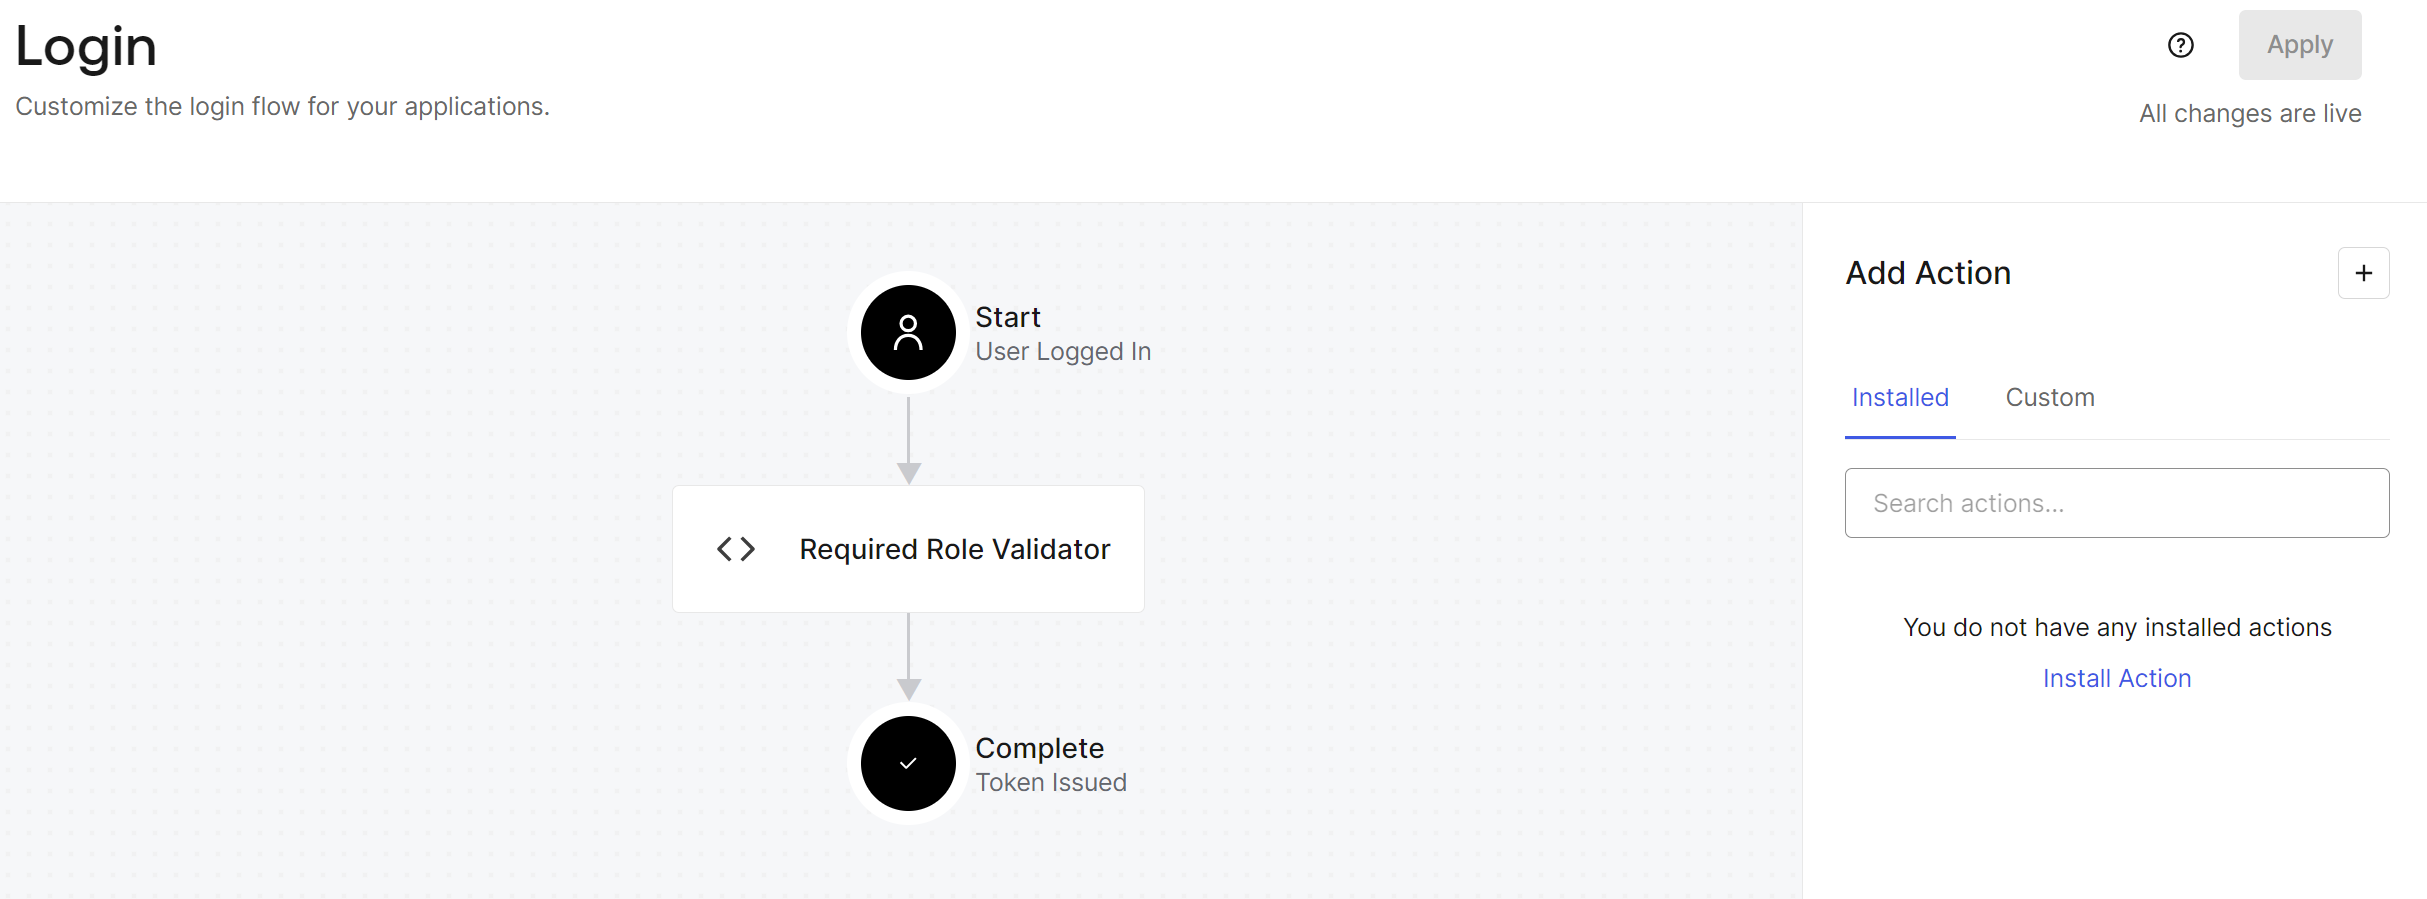
Take another look at our login flow, now with our newly added Action – ‘Required Role Validator’. It’s all set and ready to go!
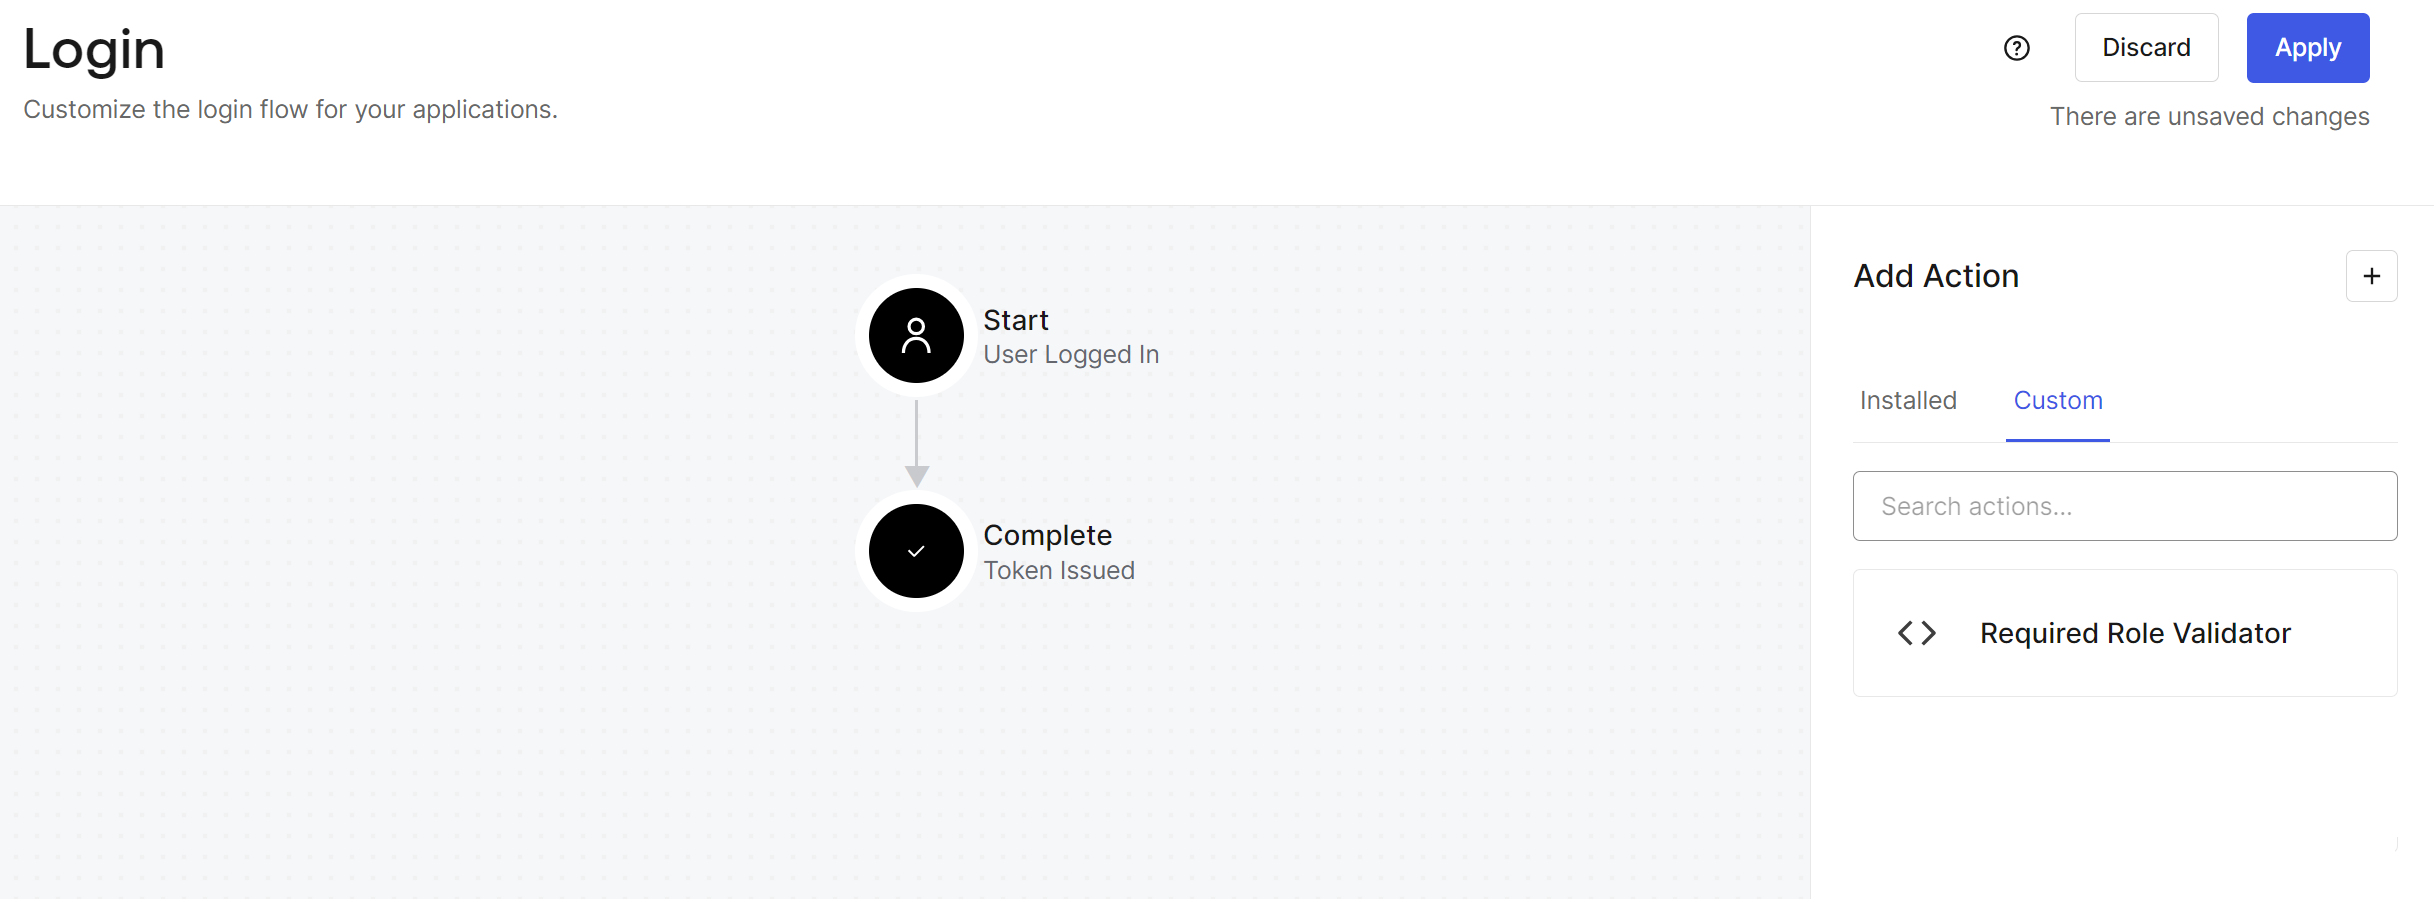
All we have to do now is to drag and drop the Action, and hit Apply 🙂
Congratulations, friends! We’ve successfully integrated a robust role-checking mechanism into our authentication flow using Auth0 Actions. This approach not only simplifies our application’s architecture but also leverages Auth0’s potent features to our advantage.
That’s all for now folks 🙂
