
Hello fellow developers, I recently got the new Xbox X and tried out the best game ever – Dying Light. A parkour running game, in a wonderful zombie world full of lovely monsters. If you are a zombie fan, this is the game! The game is so good that it inspires you to write posts about the lovely things that Sitecore has to offer 🙂
Today’s post will be about how to add a “custom index” to Solr when running Sitecore in Docker.
Starting from Sitecore XP 10.0 Initial Release, Sitecore provides documentation and officially supported images for deploying a solution in a containerized environment for the following products:
-Sitecore Experience Platform 10.0 Initial Release
-Sitecore Experience Accelerator 10.0.0
-Sitecore JavaScript Services 14.0
-Sitecore Experience Commerce 10.0 Initial Release
I just love Docker and how easy it is to set up a running “Sitecore environment” in no time. Check out these great articles/how-tos about Docker at Sitecore:
Docker: A quick overview
DevEx Containers Documentation
Repository of Sitecore Docker images
Sitecore Docker Examples
Sitecore Helix Examples
Were you aware of the lovely utility scripts that are lying around in the docker images? You guys should really take a look at the running containers. Here is the solr(xc) container:

Notice the Add-SolrCores.ps1:
[CmdletBinding()]
param(
    [Parameter(Mandatory)]
    [ValidateScript({ Test-Path $_ -PathType Container })]
    [string]$SolrPath,
    [Parameter(Mandatory)]
    [ValidateScript({ Test-Path $_ -PathType Leaf })]
    [string]$SolrSchemaPath,
    [Parameter(Mandatory)]
    [ValidateNotNullOrEmpty()]
    [string]$SolrCoreNames,
    [string]$UseDefaultSolrSchemaFor
)

$SolrCoreNames -Split ',' | ForEach-Object {
    $name = $_
    $corePath = Join-Path $SolrPath "server\solr\$name"
    Copy-Item -Path (Join-Path $SolrPath "server\solr\configsets\_default\conf") -Destination (Join-Path $corePath "conf") -Recurse -Force
    if ($name -NotLike $UseDefaultSolrSchemaFor) {
        Copy-Item -Path $SolrSchemaPath -Destination (Join-Path $corePath "conf\managed-schema")
    }
    $corePropertiesPath = Join-Path $corePath "core.properties"
    Set-Content -Path $corePropertiesPath -Value ("name=" + $name + [Environment]::NewLine + `
                                                  "config=solrconfig.xml" + [Environment]::NewLine + `
                                                  "update.autoCreateFields=false" + [Environment]::NewLine + `
                                                  "dataDir=data")
}
This neat little script allows you to add a core(solr) to your Solr instance in Docker. Let’s use it 🙂
Ok, so you need to create a custom index for your Solr instance. You have done all the “Sitecore work”(creating a crawler, created some new index fields) and now you want to deploy it to your Sitecore instance. But before that, you need to create a new core in Solr. This can, of course, be done manually and that would be ok if you were running your Sitecore instance in the old way 😉
We are not savages living in the stone age. We adapt and evolve to the DOCKER era.
So how do we do this in Docker?
If we have a look at the docker-compose.override.yml, this is where we override container builds. Here is Solr:
  solr:
    image: ${REGISTRY}${COMPOSE_PROJECT_NAME}-xm1-solr:${VERSION:-latest}
    build:
      context: ./docker/build/solr
      args:
        BASE_IMAGE: ${SITECORE_DOCKER_REGISTRY}sitecore-xm1-solr:${SITECORE_VERSION}
    mem_limit: 1GB
    volumes:
      - ${LOCAL_DATA_PATH}\solr:c:\data
Notice the context: ./docker/build/solr, this is what we are after.
So let’s follow the path: docker/build/solr and locate the Solr folder. Here is a docker file, let’s open it quickly:
# escape=`

ARG BASE_IMAGE

FROM ${BASE_IMAGE}
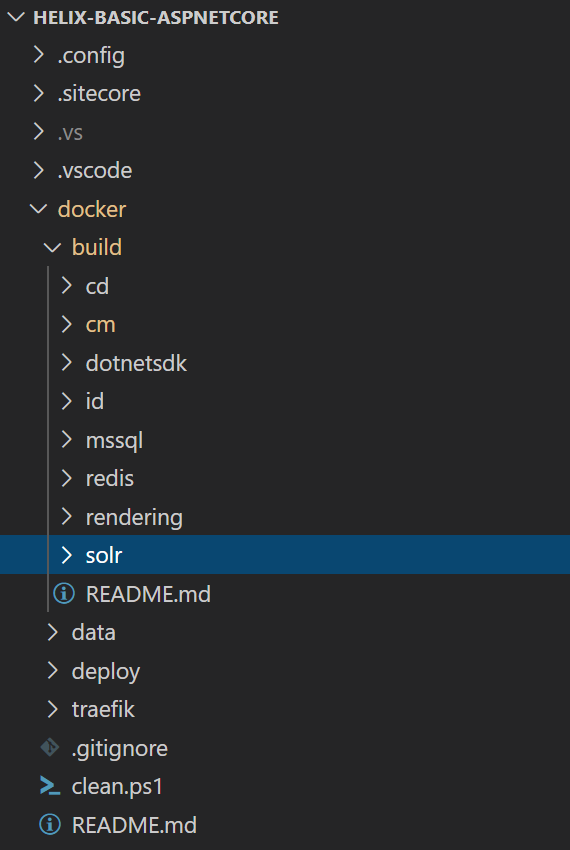
Great, now we can begin. We will update the Solr docker file(to add the Solr core). The setup will be similar to how it’s done in my favourite repository – helix-basic-aspnetcore at Sitecore Helix Examples. Locate the docker/build/solr folder:
Here we will add a new folder, we can call it – solrCores. It will contain the new cores we want to add to Solr. We will put our new custom index here, by adding a folder(with the name of the custom index) and the folder will contain a managed-schema. The managed-schema can be copied from an existing core, say the sitecore_master_index.

Time to update the Solr docker file. We will open up the docker file, at docker/build/solr, and add some code for “adding the solr cores”:
# escape=`

ARG BASE_IMAGE

FROM ${BASE_IMAGE}

SHELL ["powershell", "-Command", "$ErrorActionPreference = 'Stop'; $ProgressPreference = 'SilentlyContinue';"]

COPY solrCores/my_custom_index C:\my_custom_index

RUN C:\Add-SolrCores.ps1 -SolrPath C:\solr -SolrSchemaPath C:\my_custom_index\managed-schema -SolrCoreNames 'my_custom_index'; `
    Remove-Item -Path C:\my_custom_index -Recurse -Force;
Let me give you guys a quick explanation:
First, we copy the “my_custom_index” folder into the docker image.
Next, we call/run the Add-SolrCores.ps1 script, which already exists in the Solr image(BASE_IMAGE). We set the parameters: path to Solr(in docker image), path to the managed schema(in the “my_custom_index” folder), and give the new Solr core a name – my_custom_index.
Lastly, we remove the copied folder “my_custom_index” from the docker image.
So the next time when we run docker-compose build, it will create the new Solr core into our Solr instance.
Thank you Sitecore, for making it easy for us. Keep up the good work!
That’s all for now folks 🙂
